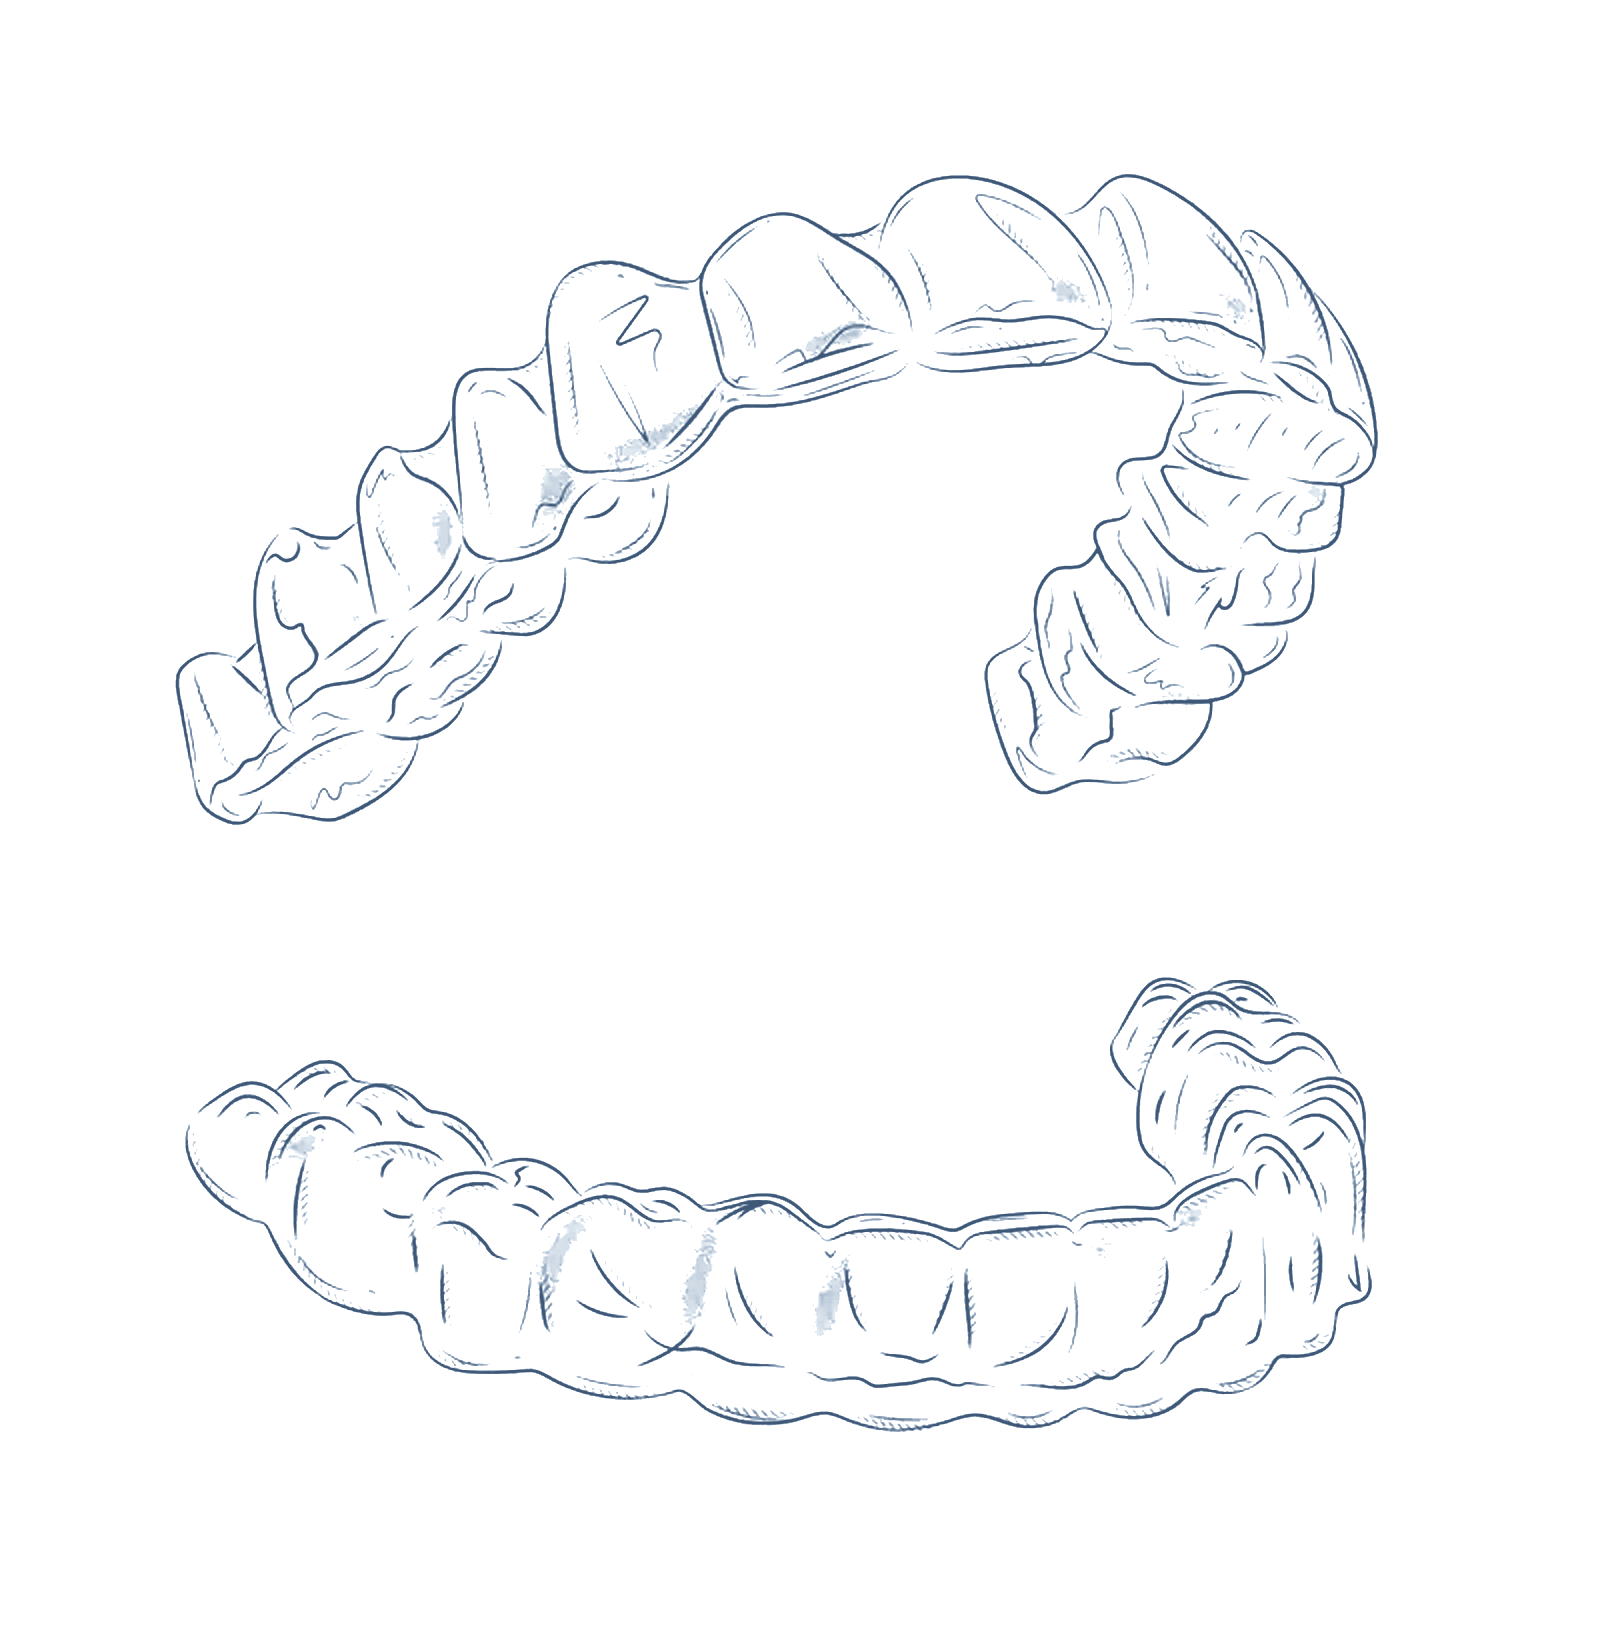
An aligner can push, but it can't pull or anchor one arch against the other — that's what auxiliaries are for. A practical guide to buttons and hooks, Class II/III and other elastics, TADs, power arms and ridges, and tongue cribs — each planned in from the start.
Attachments give an aligner grip; IPR gives it room. But some jobs the plastic simply cannot do alone — it can push, it cannot pull, and it cannot anchor one arch against the other. That is what the auxiliaries are for: buttons, elastics, TADs, power arms, power ridges, and tongue cribs. Small add-ons, each planned in from the start — never a patch for a plan that has already gone wrong.
Push, not pull
Reaching for an auxiliary isn’t an admission of failure — it’s how you deliver the movements aligners find hard. An aligner is a push appliance: it seats over the teeth and pushes. It has no way to pull a tooth toward it, and no way to reach across the bite.
The wall of the tray can shove a crown, but plastic can't grip a tooth and pull it. Pulls need an auxiliary.
So the moment your plan needs a pull — an extrusion, a stubborn rotation, real root movement — or needs one arch to work against the other, you plan an auxiliary. Decide it before you start, not after a tooth falls behind.
The attachment point: buttons & hooks
Everything else hangs off an attachment point:
A button — a small bondable cleat glued to a tooth, giving an elastic something to hook onto. Use it to move a single tooth.
A hook or cutout on the aligner does the same job for the tray — use it to move the whole arch, or to keep things aesthetic.
A button is a small bondable cleat — metal or tooth-coloured — glued to a tooth so an elastic has something to hook onto.
A hook or cutout in the aligner does the same job for the tray itself.
Elastics: direction is everything
Elastics are the workhorse, and they run on one thing — patient compliance. Their power is in the direction they pull. Same elastic, opposite hook-up, opposite result:
Class II — upper front to lower back. Holds back a protruded upper.Class III — lower front to upper back. The opposite hook-up, for a Class III.
The patient wears them the hours you prescribe, or the movement simply does not happen.
More elastic configurations
Each is a different geometry of pull:
Box — four points, to settle the bite vertically.Triangle — three points, to close the bite at one spot.Cross — across the bite for a crossbite: a lingual button on the upper, buccal buttons on the lower.Rotational — off a button, a couple that spins a tooth the plastic can't rotate on its own.
A common working elastic is 3/16 inch, 3.5 oz, full-time — write the size, force, and hours on the plan.
Special pulls: bootstrap & diastema
Still built from buttons and elastics:
Bootstrap — a delayed tooth (often a high lateral) pulled down into the arch, hooked to buttons either side.Diastema — a button on each central and an elastic chain across, drawing them together.
Same principle every time: the button gives the elastic its grip, and the direction of the pull does the rest.
TADs: when only bone will hold
When a tooth can’t be the anchor, go to bone. TADs — temporary anchorage devices — are small titanium mini-screws placed in the bone that give absolute, immovable anchorage.
Intrude a posterior tooth — a mini-screw in the bone on each side, an elastic arching over, with no reaction force on the neighbours.Intrude the front teeth in a gummy smile — screws in the bone above, elastics drawing the anteriors up.Back up sequential distalization — a screw anchors the front while the back teeth are eased distally.
Use them to intrude posterior teeth, to intrude the front teeth in a gummy smile, or to back up sequential distalization in a Class II or III. They stay for the movement, then come out. When the reaction force would otherwise wreck your anchorage, a TAD takes the load instead of the teeth.
Power arms & power ridges
Two tools for finer control — both are really about where the force lands:
Power arm — the force point is lowered toward the centre of resistance, so the tooth translates bodily instead of tipping.Power ridges — two ridges built into the aligner, labial and lingual, form a couple that torques the root.
Power arms move the force point; power ridges add the torque — the movement the plastic gives up on first.
When the enemy is a habit: tongue cribs
Sometimes the obstacle isn’t the tooth — it’s a habit. A tongue thrust or thumb habit pushes the front teeth apart and holds an open bite open, and no aligner will win against a force that acts on every swallow.
Small spikes behind the incisors retrain the tongue while the aligner does its job.
Tongue cribs, or spikes, are small guards — bonded or built into the aligner. If a habit caused the problem, intercept the habit, or it will simply reopen what you close.
Key takeaways
Aligners push, they don’t pull — and the auxiliaries supply the pull, the anchorage, and the torque the plastic can’t. Buttons and hooks to hang them on. Elastics for the bite, on compliance. TADs when only bone will hold. Power arms and ridges for bodily movement and torque. Tongue cribs when a habit is the real enemy. The one rule under all of it: plan the auxiliary in from the start — never after the surprise.
Auxiliaries are small add-ons that deliver the movements the plastic can't do alone — buttons and hooks, elastics, TADs (mini-screws), power arms and power ridges, and tongue cribs. An aligner can push but not pull, and it can't anchor one arch against the other; auxiliaries supply the pull, the anchorage, and the torque. Each should be planned in from the start, not added as a patch after a tooth falls behind.
Why do clear aligners need elastics?
Because an aligner is a push appliance — it seats over the teeth and pushes, with no way to pull a tooth toward it or reach across the bite. Elastics supply that pull, and their power is in the direction they run. They depend entirely on patient compliance: worn the prescribed hours, or the movement simply doesn't happen.
What's the difference between Class II and Class III elastics?
Same elastic, opposite hook-up, opposite result. Class II elastics run from the front of the upper arch to the back of the lower — holding back a protruded upper (a Class II). Class III elastics run the opposite way, front of the lower to back of the upper, for a Class III. Direction is everything.
What is a TAD, and when is it used with clear aligners?
A TAD (temporary anchorage device) is a small titanium mini-screw placed in the bone to give absolute, immovable anchorage — used when a tooth can't be the anchor. Typical uses: intruding posterior teeth, intruding the front teeth in a gummy smile, or backing up sequential distalization in a Class II or III correction. It stays for the movement, then comes out.